
7 Best Lighting Tips to Help You Excel at Smartphone Photography
Photography is all about how you utilize lighting and shadows. Among all factors that contribute to improving your product photographs, lighting is undoubtedly the most important. Great lighting is a common element in all product photographs irrespective of their subject.
How you illuminate your products ultimately determines how the photographs come out. Thus, understanding lighting will help you get amazing photographs even if you don’t own fancy equipment.
If you use a smartphone for product photography, lighting can be your biggest ally. Here, in this article, let’s discuss the 7 best lighting tips that will help you get incredible photos with your smartphone.
Tip 1 - Play around with the manual mode
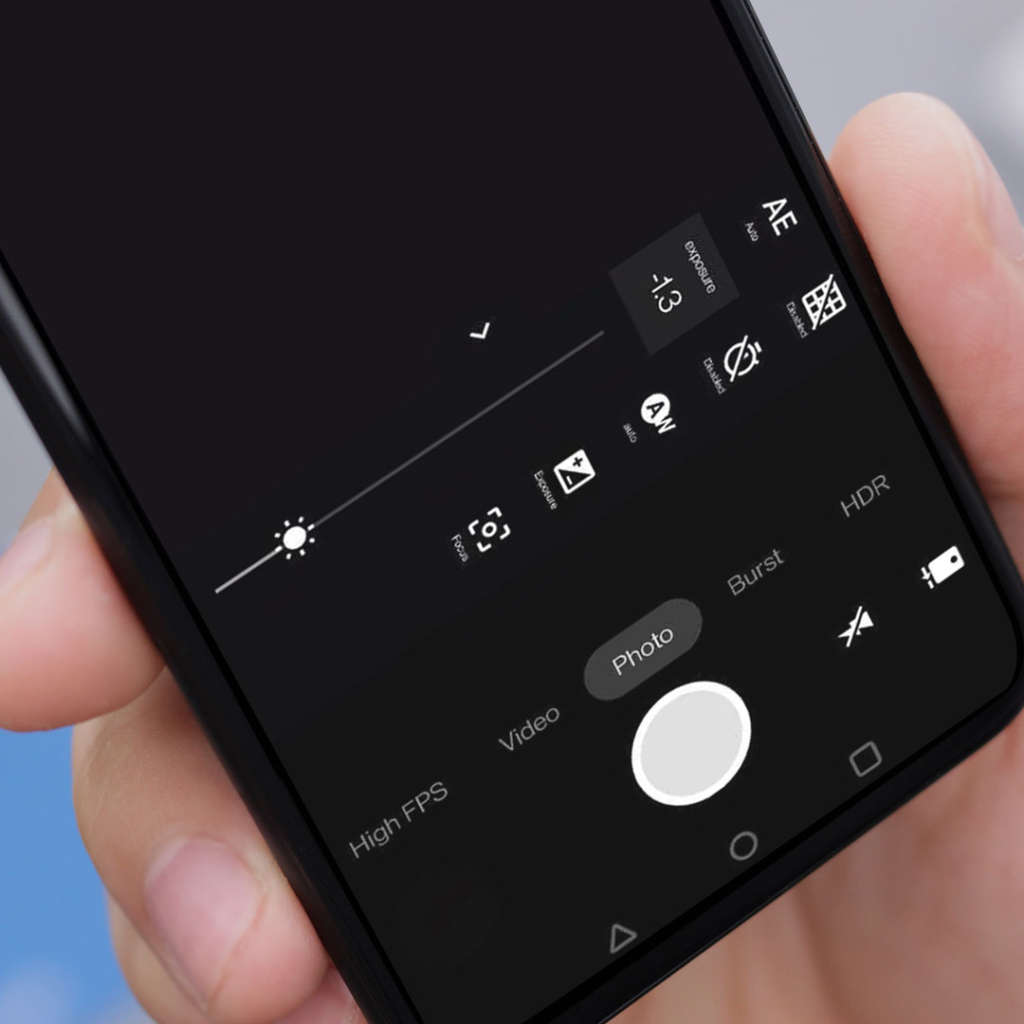
If utilized to its full potential, smartphone photography can deliver some really exceptional results. If you want to make the most out of your smartphone camera then don’t shy away from using the manual mode.
Although smartphones can click decent photographs out of the box, using the manual mode gives you greater control over every aspect of your photograph. It allows you to adjust dynamics like shutter speed, ISO, aperture, and other such settings that can’t be changed otherwise.
The manual settings allow you to stabilize your shot for clear lighting, thus, avoiding image blurring. So, go ahead and play around with the manual mode.
If your phone doesn’t have a manual mode, you can also look at using a third-party app for the same.
Tip 2 - Experiment with long exposure
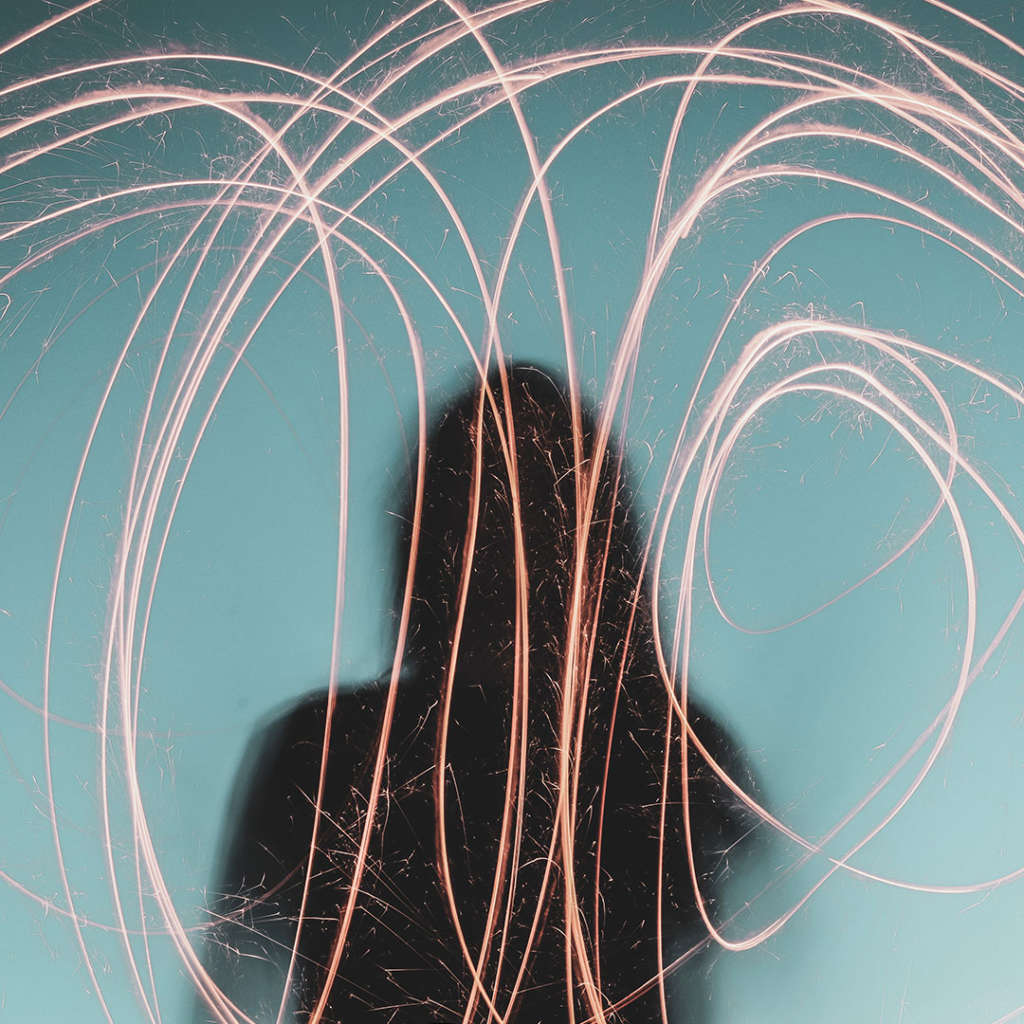
In low-light conditions, you can use a long exposure to get good photographs. Not only that, but you can also use a long exposure to add different effects like making the pictures more soft and uniform, a process known as long exposure photography.
It takes advantage of slow shutter speeds to create visually unique and creative images. Although used primarily by the landscape and street photographers, it can be used in product photography when there is not enough lighting.
To get the right exposure, you can play around with the shutter speed. Just place your smartphone on a tripod, leave the ISO at its lowest, and take a photo with a longer shutter speed.
Luckily, most smartphones these days come with a built-in night mode that allows you to take photographs in low light. But if that’s not the case with your smartphone, you can also take the help of third-party apps.
Tip 3 - Use artificial lighting
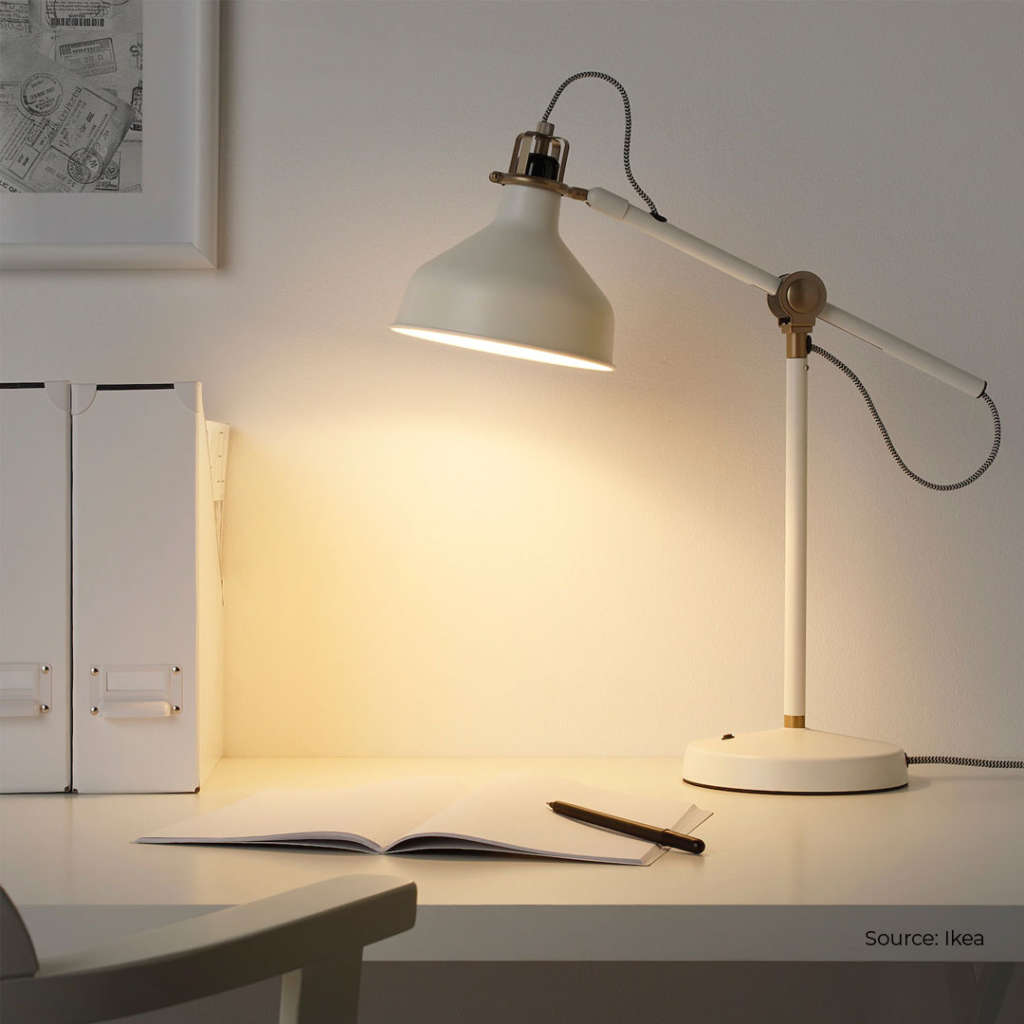
Using an artificial source of light ensures that your lighting conditions do not fluctuate. You can control every aspect of your lighting, without having to rely on the availability of natural light.
Having an external source of lighting gives you more freedom. You can either have light bounce off a wall or use diffusers to make the light softer.
What’s more is that there are plenty of lighting accessories available for photographers. So, you can choose the exact type of lighting you need for your photoshoot. You can either go with studio lights, diffusers, softboxes, or lighting tents.
No matter what kind of artificial light you choose, investing in it will make a massive difference in the quality of your photographs.
Tip 4 - Stand in the shade
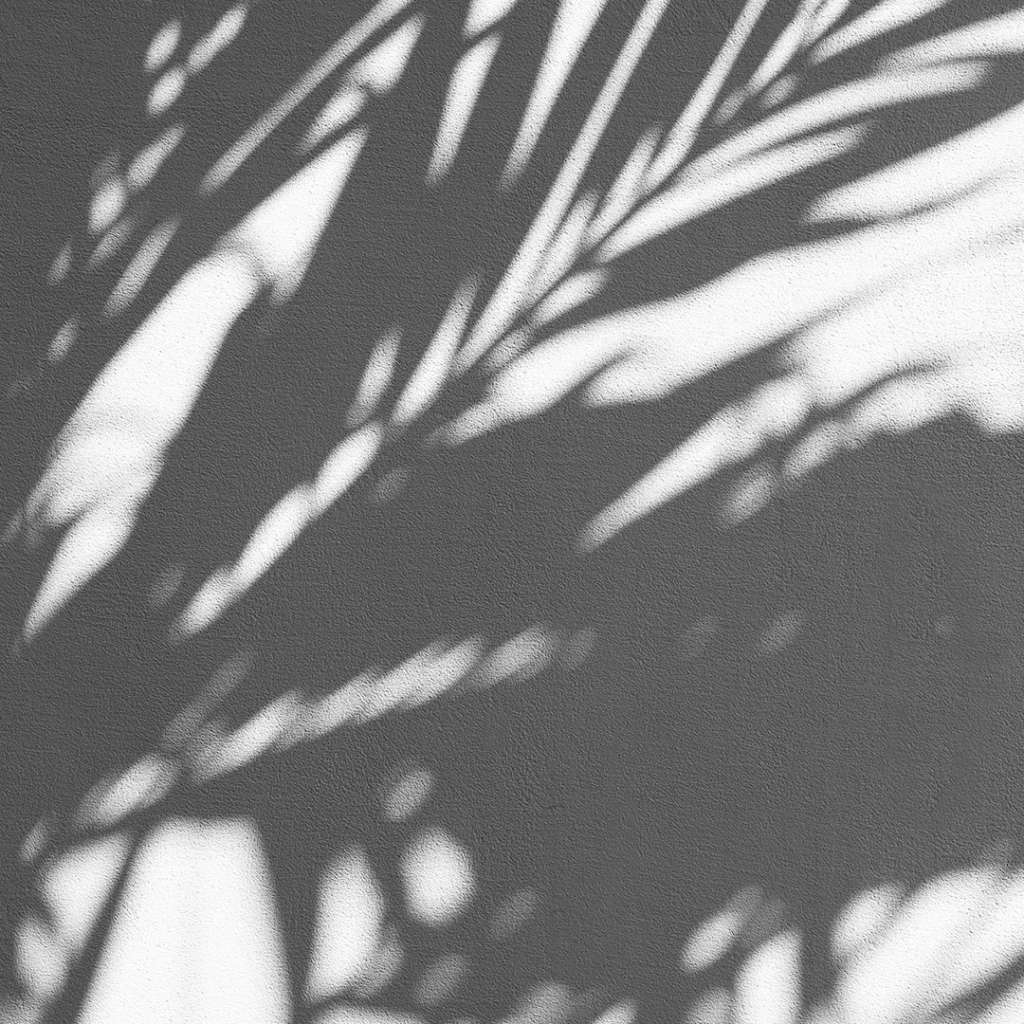
In the case of outdoor shoots, the sun might get in the way of clicking the perfect photographs. If your subject is getting direct sunlight, it’s better to stand in the shade to get better lighting.
While the product will still receive natural light, having your camera lens in the shade will help reduce glare in the photographs.
Moreover, standing in the shade with your smartphone camera helps reduce the blurring and white balance. It also helps refocus your camera.
One thing to keep in mind though is to reduce the exposure so that you can still get high-definition photographs.
Tip 5 - Make the most out of the golden hour
The golden hour is the time right after sunrise or before sunset. It’s a coveted time of the day for professional photographers since it provides the perfect light to capture stunning photos.
The golden hour produces beautiful natural light that’s easy to work with. This light has a beautiful golden hue, and it’s softer, directional, and has a warm color palette. It’s usually ideal for silhouettes and elongated shadows.
Moreover, knowing that the sun sets in the west allows you to plan your photoshoot in advance. So, you don’t waste time positioning your subject during the golden hour.
By timing your photoshoot, you can get some dynamic photos.
But it can also create problems. If you are standing with your back to the sun, you may cast your own shade on your subject.
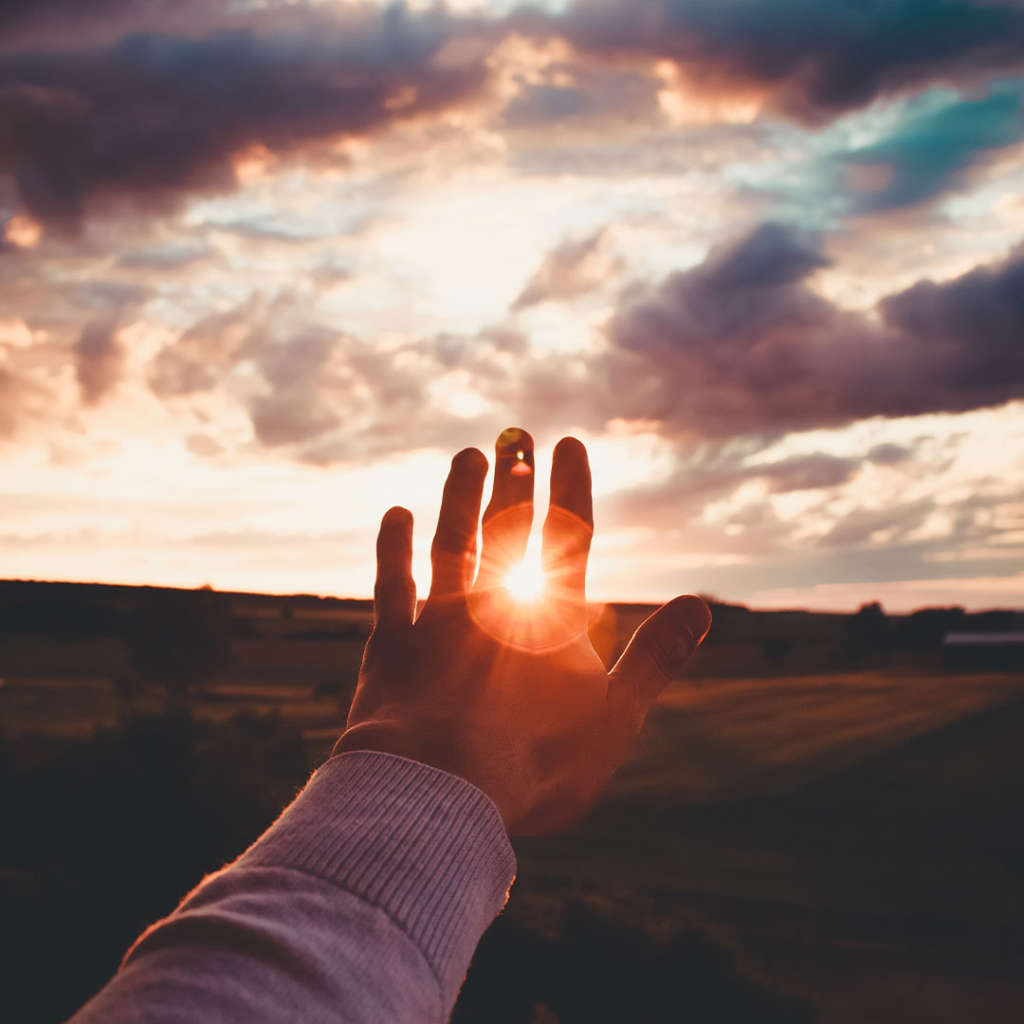
Tip 6 - Use a broad light source
Having a broad source of light ensures the light coming out of it is softer. A broader source of light casts fewer shadows while also suppressing the texture of the subject.
Narrow light sources, on the other hand, do the opposite. That is why LEDs and flashes are paired with reflectors and diffusers to broaden these sources.
If you can’t find a broad source of light, you can also use natural lighting.
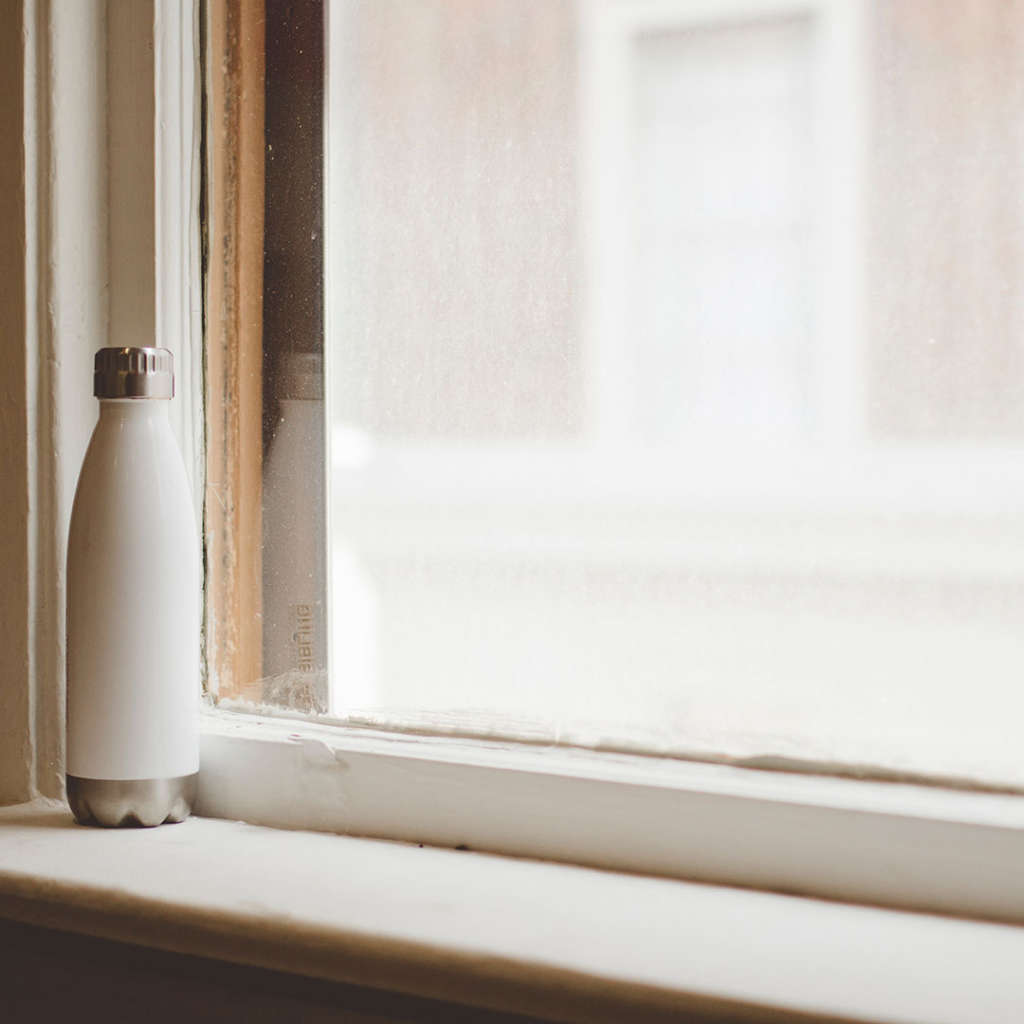
Tip 7 - Make use of directional lighting
Directional lighting depends on the interaction between your subject and the source of light. You can click breathtaking photographs by understanding how to place your subject and how to capture its best possible sides.
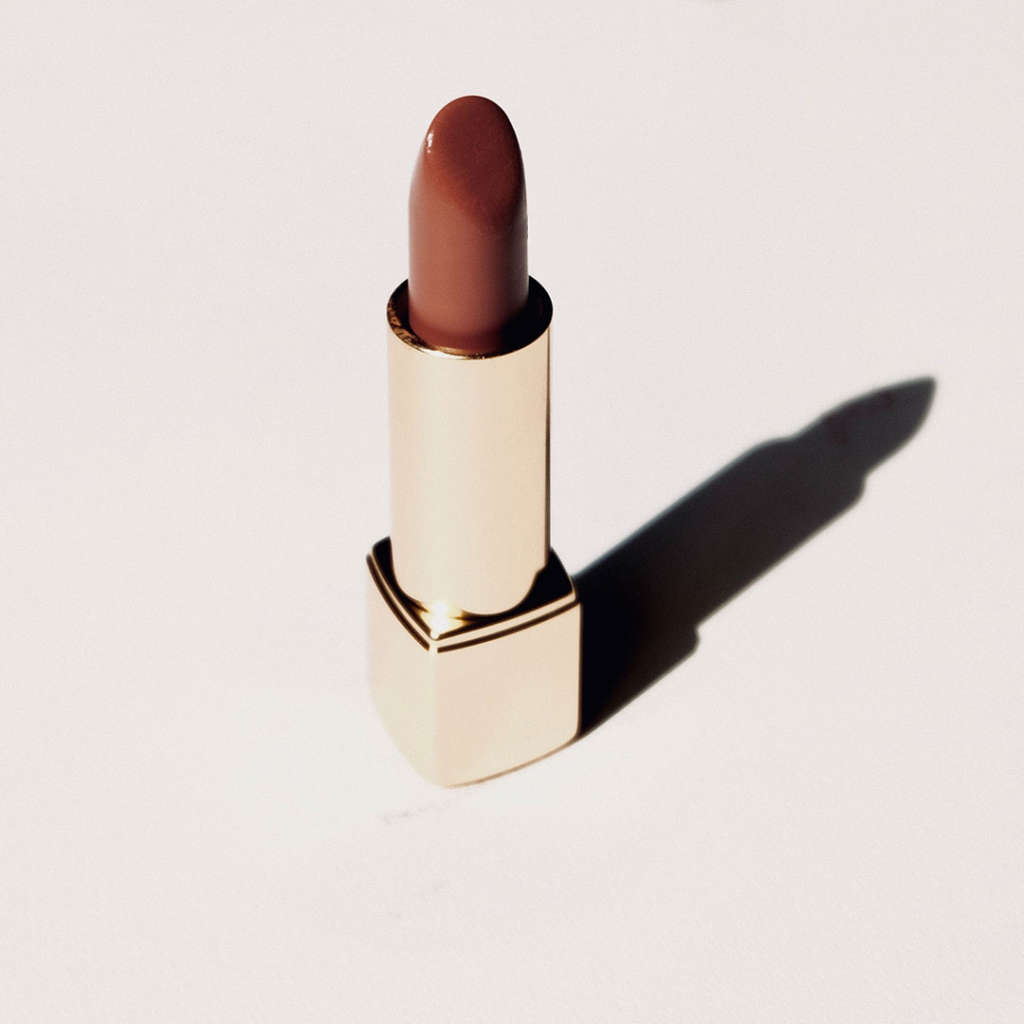
You can use three types of directional lighting i.e., front lighting, back lighting, and side lighting.
Conclusion
Lighting changes the entire dynamic of the photograph. So, it’s essential to understand lighting to boost your product photographs. Using these simple lighting tips will help you massively improve the quality of your photographs.
If you found it helpful, you can check out more such articles on Dresma.

